Table Of Content
I keep tools, mob drops, building supplies, wood and farming stuff in here. On top of each acacia plank block you placed, you're going to place an acacia stair. Carry the planks and stairs along the length of the roof on both sides. Place acacia planks as shown in the photos to get the roof ready for building.
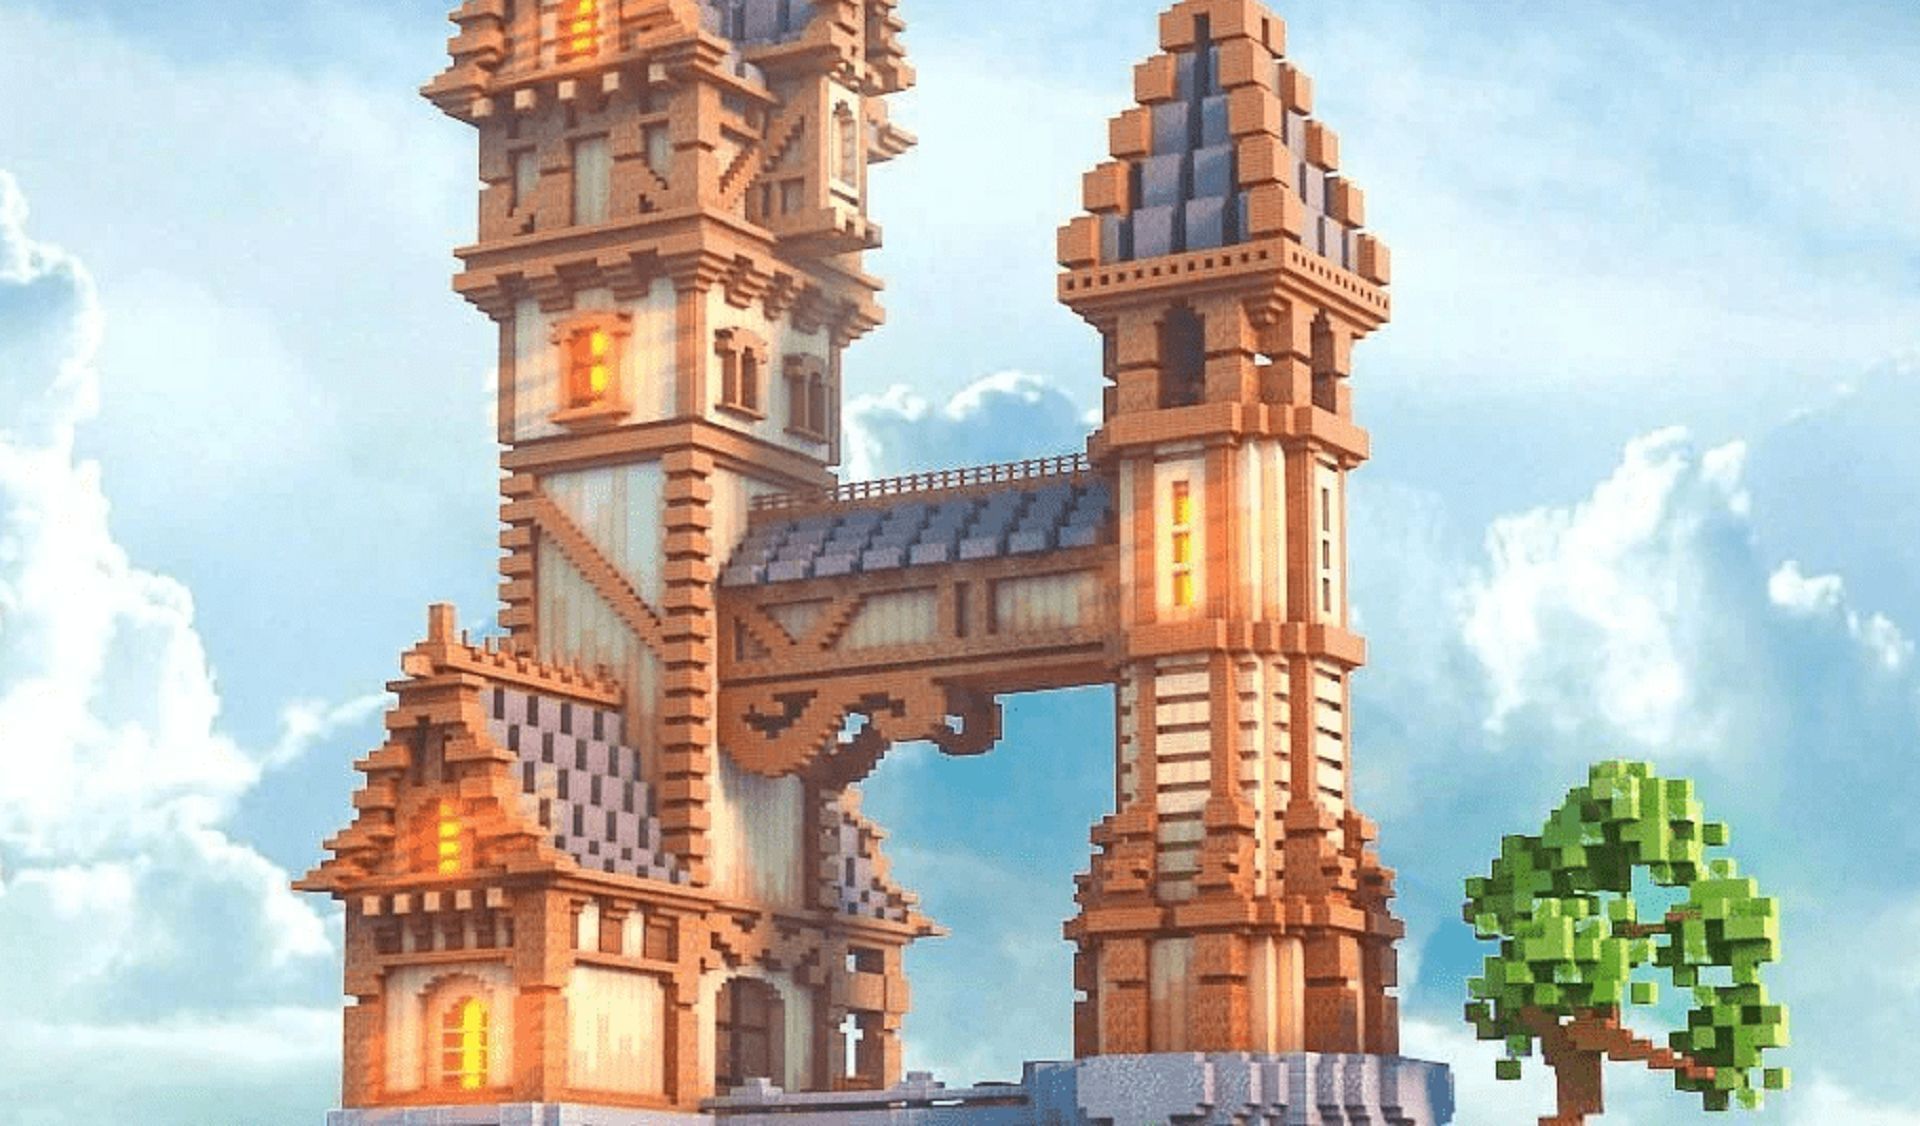
Step 6: Construct The Walls & Tower
This is a simple build with some traditional style architecture. This construction would fit perfectly in the middle of any medieval village or in a forest. Pretty easy to build from gathered materials, this house could be a great survival place. Place stripped spruce logs in front of the stone bricks to create more depth. Follow the pattern shown above and repeat the same step for the back of the house. Now we’re going to create our walls with smooth sandstone.
Step 4: Build a Doorway + Add the Flooring
(You can see the correct placement in the photos!) I dug one block down on the main floor and replaced the dirt with the planks for that floor. The second floor just has birch planks laid into the second floor frame. On the top of the structure, add upside-down spruce planks on the sides and one regular block or spruce slab in between them. Now place four spruce slabs in the middle of each side, so they’re level with the corners.

Minecraft Medieval House Ideas and Step-by-Step Guide
For this, you’ll require some slabs, dark oak plank, and dark oak stairs. To make the top, put planks and raise them twice and finally add three dark oak fences on the top of the planks. As you’re building a medieval house, a chimney is an important and necessary part of the home. Here the chimney is made up of cracked stone bricks and stone brick stairs. To make this, place 2 X 2 row bricks starting from the bottom to the top of the roof. You can also add a few details with granites and polished granites.
STEP 3. Build the Walls
Fill in all the gaps (except for one part) by placing sandstone two blocks wide and four blocks high. And stack them on one another with a total of 5 blocks high. You can also randomly texture the walls with cobblestone and stone bricks. Try to keep the pattern as random as possible to get a more natural look. Begin by placing an oak trunk outside of each corner and building up five blocks high.
Continue following the roof pattern until you connect it from front to back. After you’re done with the chimney and other details now, you can decorate your pathway with some leaves and flowers. I added fence gates even though they don't work with the horses (they can't fit through!) - they just make it look nice. If you want to stay organized and keep track of all of your materials, download my free material checklist for this build by clicking the image above. On the other side of the house, repeat the same steps like you did on the other side of the house. On the 4th row, place smooth in the pattern as shown above.
10 best roof designs in Minecraft - Sportskeeda
10 best roof designs in Minecraft.
Posted: Tue, 25 Jul 2023 07:00:00 GMT [source]
Step 11: Build the Balcony
Soon after its first launch, it immediately became really famous, and now everyone is addicted to this fantastic game (including me). So, basically in this game, you can build any type of house.If you’re looking for some house inspirations, you’ve landed on the right page. These houses will give you aesthetic and authentic antiquated vibes. But first, let me tell you some basic features of any Minecraft medieval house.
After all, no home will be complete without it, right? So, break the two stones, and then install an upside-down stone at the bottom. Place a glass plane of your choice and use spruce trapdoors for the shutters. Part from Netflix nowadays, unusual Minecraft houses are probably the second most popular thing on this planet!
Step 3: Build the Bottom Layer and Fill In
Then at a little free section, place three stones, three spruce fences. After this, put three spruce trapdoors and finally add a door. Now take some spruce planks and start filling your ground floor. Repeat the same thing on the top of the walls to make the base for the second level.
Oak trunks are used for the supports - stack them 5 high and then connect them so the frame is 7 wide and 11 long. On top of the roof, use dark slabs and place it in front of the stairs on both ends of the house, then place a slab on every other block as shown above. Continue to follow the pattern on the 4th row and above with smooth sandstone. If you want to add a balcony, put some spruce slabs on one side of the house. Bring the plank and stairs out one block, and then add an upside down stair to the bottom of the each of the blocks. Once the frame is built, fill it out with cobblestone as shown in the second photo.
Connect the trunks all along the bottom of the frame. Place an upside down stone brick stair and mossy stone brick stair combo on the top and bottom of the window openings for each side of the house. Then, place an oak trapdoor to complete the window. On the 4th row above the stone bricks, add smooth sandstone. I brought the side supports in one block - that way it frames the enchanting half of the room nicely and allows for an easy ladder to the top floor. I used acacia wood slabs for the roof and oak fencing for the supports and the bottom.


No comments:
Post a Comment